



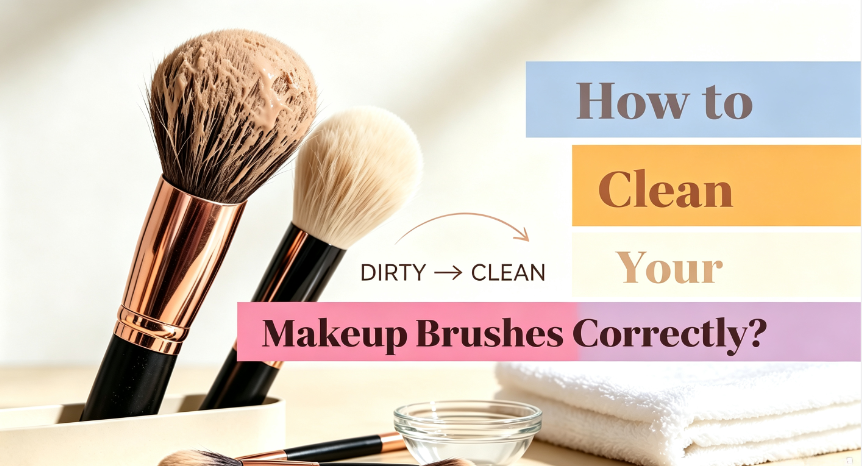
How to Clean Your Makeup Brushes Correctly?
If you have ever finished a foundation and wondered why your skin still looks dull, the brush is probably the reason. After a week of regular use, a makeup brush can carry more oil than your T-zone and more leftover pigment than a half-used eyeshadow pan. Here is the ten-minute routine we run every Sunday. Also, we provide deep-cleaning steps to clean your makeup brushes.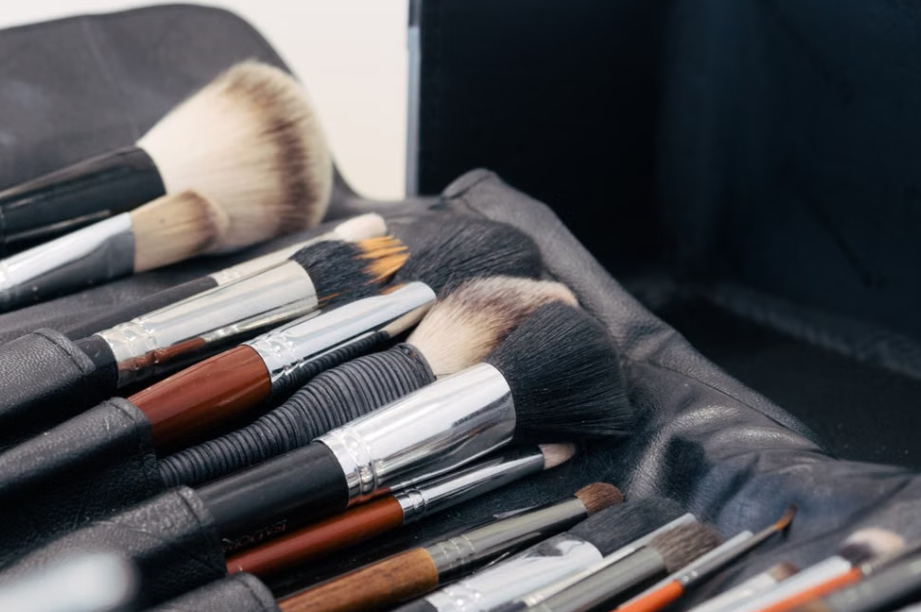
What You’ll Need
You do not need a fancy kit. Here is the five-thing setup we use every week, plus one optional upgrade for the monthly reset.
1. Gentle Cleanser (bar soap or baby shampoo)
2. Silicone Cleaning Mat
3. Fresh Microfiber Cloth
4. A Clean Spot to Lay Brushes Flat
5. Dish Soap + Olive Oil (monthly deep clean only)
How to Clean Makeup Brushes Weekly
Step 1: Wet the bristles only
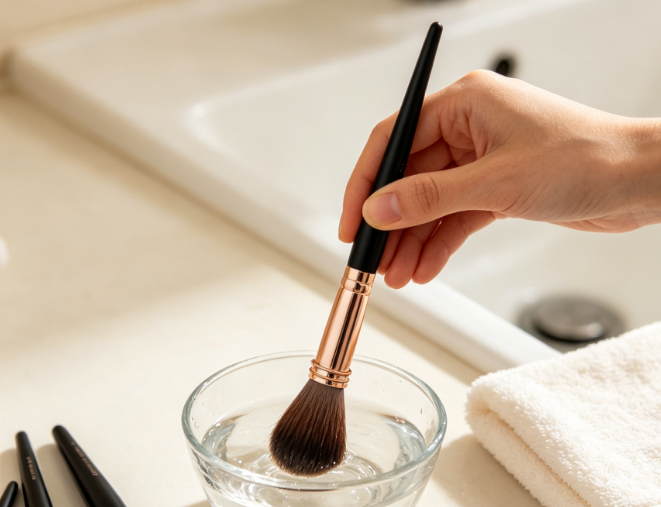
Hold the brush handle-down under lukewarm water, or dip just the tips into a small bowl. The waterline must stay below the ferrule (the metal sleeve). Soaking the metal is the number-one way to kill a brush, because it dissolves the glue.
Step 2: Work up a lather
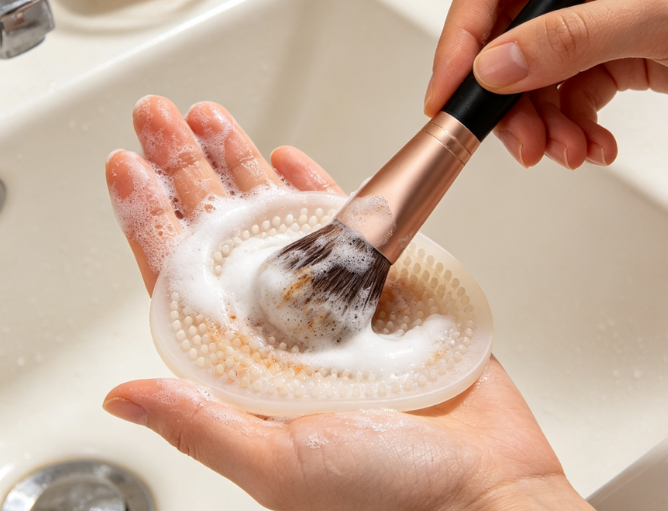
Swirl the wet brush on your bar soap, in your palm, or across the silicone mat. You will see old color run almost immediately. That is the pigment you have been re-applying to your face for a week.
Step 3: Rinse and repeat
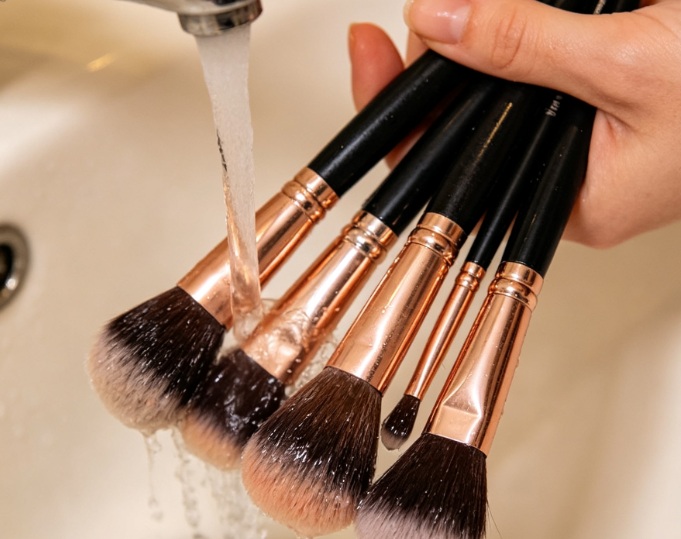
Rinse under lukewarm water until the water runs clear. Stubborn foundation sometimes needs two or three passes. Do not skip the repeats; leftover soap residue clogs pores.
Step 4: Squeeze and reshape
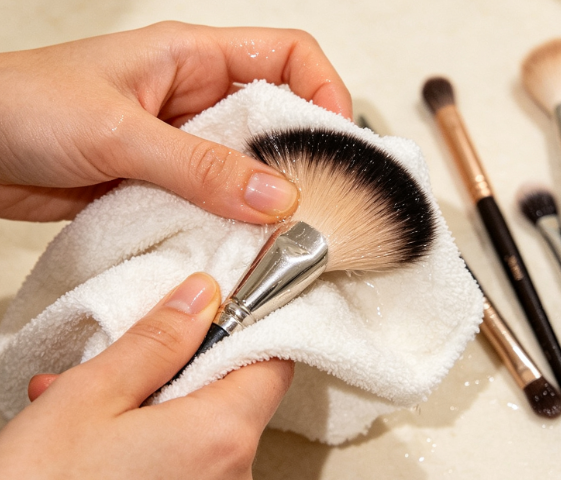
Press the bristles gently into your microfiber cloth and squeeze from ferrule to tip. Reshape the head with your fingers back to its original fan or point.
Step 5: Dry flat, bristle over the edge
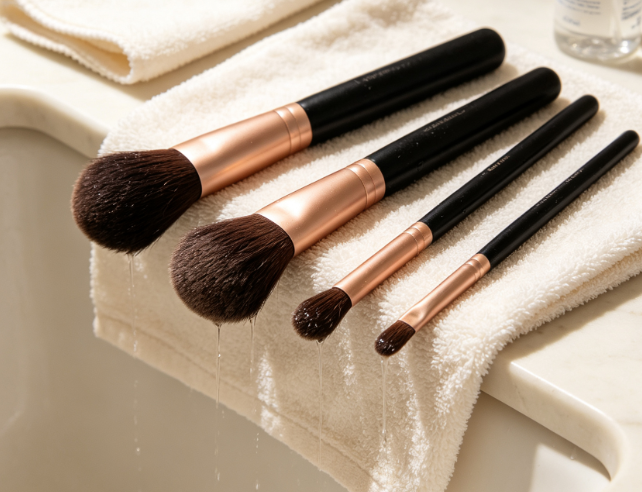
Lay the brush on a clean towel with the bristles hanging just past the edge of the counter. Gravity pulls water down and away from the ferrule, which is exactly what you want. Never stand a wet brush upright in a cup; the water drains straight into the metal and rots the brush from the inside.
How to Clean Your Makeup Brushes Deeply
Once a month, give your kit a real spa day. The dish-soap-plus-olive-oil mix we mentioned in the materials section is exactly what you want here. Plan for about fifteen minutes per set of five brushes, set up a small bowl, and follow the steps below in order.
Step 1: Mix the solution
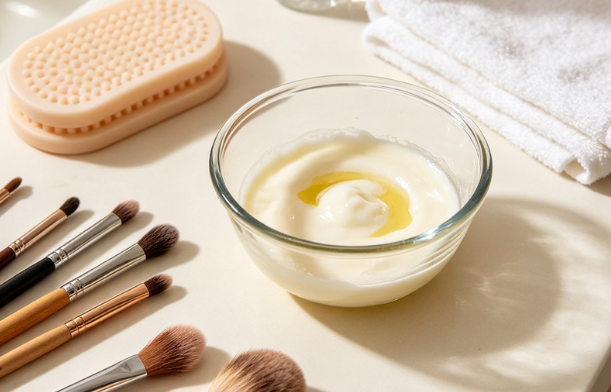
In a small bowl, combine one tablespoon of dish soap with one tablespoon of olive oil. Stir until the two come together into a milky, slightly thickened liquid. This is your monthly deep-clean bath.
Step 2: Pre-rinse the brushes
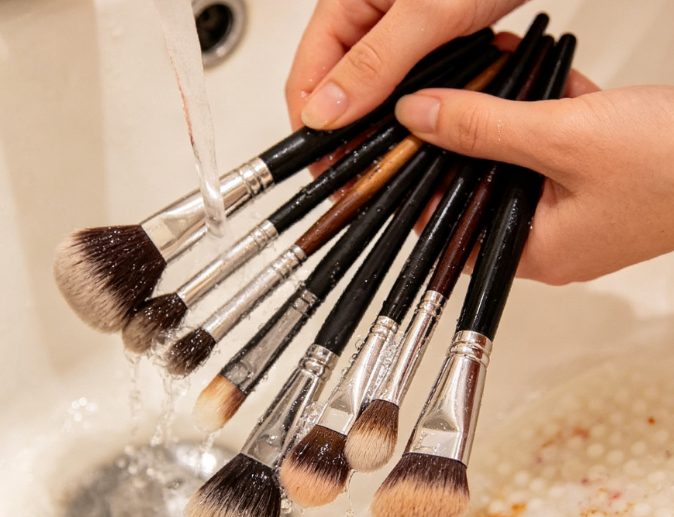
Run each brush under lukewarm water, bristles-down, for about ten seconds to knock off the surface pigment. The waterline stays below the ferrule, same rule as the weekly wash.
Step 3: Soak and swirl
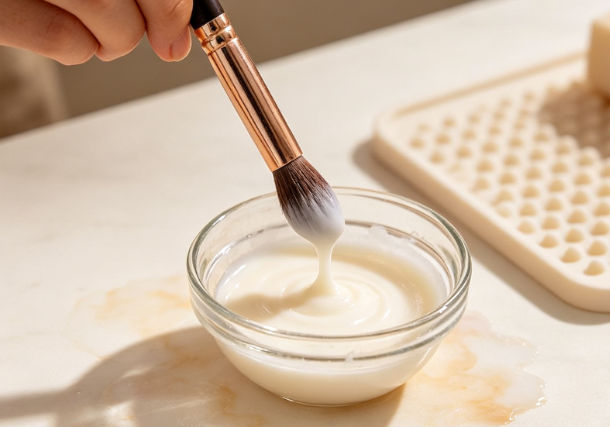
Dip just the bristle tips into the solution and swirl the brush against the side of the bowl for 20 to 30 seconds. You will see old foundation, sunscreen, and sebum lift out of the bristles as a tinted cloud. For dense foundation brushes, repeat the dip-and-swirl two or three times until the cloud runs clear.
Step 4: Lather and rinse until water runs clear
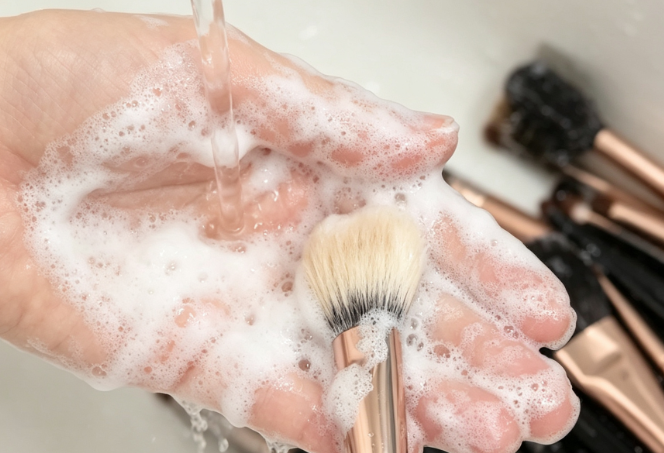
Move the brush to a silicone mat or your palm, work up a final lather, then rinse under lukewarm water until every trace of soap and oil is gone. Any leftover oil will leave the bristles greasy and clog pores on the next use, so do not rush this step.
Step 5: Sanitize if needed, then dry
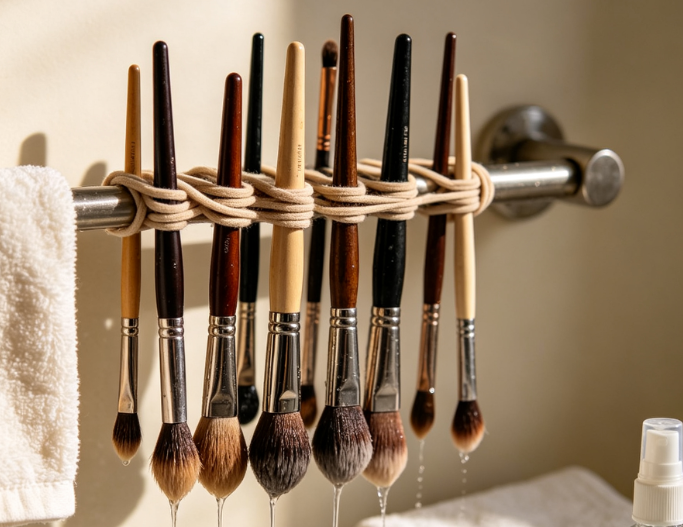
If you have just gotten over a breakout, a cold sore, or any skin infection, lightly mist the clean bristles with 70% isopropyl alcohol and let them air-dry. Skip the alcohol on natural-hair brushes more than once a month, since it dries the hair out over time. Either way, finish by squeezing out excess water with a microfiber cloth and laying the brush flat to dry with bristles hanging off the edge of the counter, just like the weekly routine.
Pro drying trick: If you have a lot of brushes to dry at once, hang them. It frees up your counter and dries faster than laying flat.
- What you need: One thick rubber band or hair tie.
- Where to loop it: Towel rail, cabinet handle, chair back, or any horizontal bar on a drying rack.
- How to hang: Slide the brush handles under the band so the bristle heads dangle face-down in the air. Water drains away from the ferrule instead of pooling into the handle.
- Drying time: 6 to 10 hours, faster than laying flat because air circulates around the whole bristle head.
Storing Brushes After Cleaning
Storage matters as much as the wash. We keep three zones:
- A vented ceramic holder on the counter for daily-use brushes (open air so any leftover moisture can finish evaporating),
- A divided cosmetic pouch for the on-the-go kit
- A closed zip makeup bag only for fully dry brushes we want to keep dust-free
The travel pouch is the most overlooked. A damp brush in a sealed bag is a petri dish, so let everything dry for at least 8 hours before snapping the pouch shut.
Shop the Picks
Three Callie cosmetic bags that fit the brush-cleaning workflow above:

Portable PU leather build with a top handle and multiple inner compartments, keeps wet brushes, cleansers, and a travel towel neatly separated.

Vibrant cartoon-character multicolor stripes with a full zipper closure — a fun everyday carrier that wipes clean after weekly brush washes.

Lightweight canvas with a colorful cartoon-character print — lays flat so brushes can air-dry before you fold up and go.
Common Mistakes to Avoid
- Soaking the ferrule. The single fastest way to ruin a brush. Water + glue = shedding.
- Using dish soap straight without rinsing well. A quick dish-soap rinse leaves residue that clogs pores. Always rinse until the water runs clear.
- Drying upright in a cup. Gravity sends water straight into the ferrule. Flat or bristle-down only.
- Cleaning once a month. That is retail-store advice, not skincare advice. Foundation brushes need weekly washing.
- Sharing brushes without sanitizing. Always spray with alcohol before passing a brush to a friend or a client.
Frequently Asked Questions
How Often Should You Clean Your Makeup Brushes?
The AAD recommends cleaning foundation and concealer brushes every seven days, and powder and eye brushes at least every two to three weeks. If you have acne-prone or sensitive skin, lean weekly across the board.
Can I use olive oil on makeup brushes?
Yes, especially if your foundation is full-coverage or long-wear. Mix it with dish soap for the deep-clean method once a month. Skip the olive oil if your skin breaks out easily from comedogenic ingredients, since a trace amount can stay on the bristles.
How long does it take for brushes to dry?
Anywhere from 4 to 10 hours depending on humidity and bristle density. Squeeze out as much water as you can with a microfiber cloth and lay them flat overnight. By morning, they are ready.
When should I replace a makeup brush?
Three signs it is time to change to new brushes: bristles that stay bent out of shape after washing, a musty smell that does not go away, and shedding that leaves fibers on your face. A well-cared-for brush should last two to three years minimum.
Shop the Picks
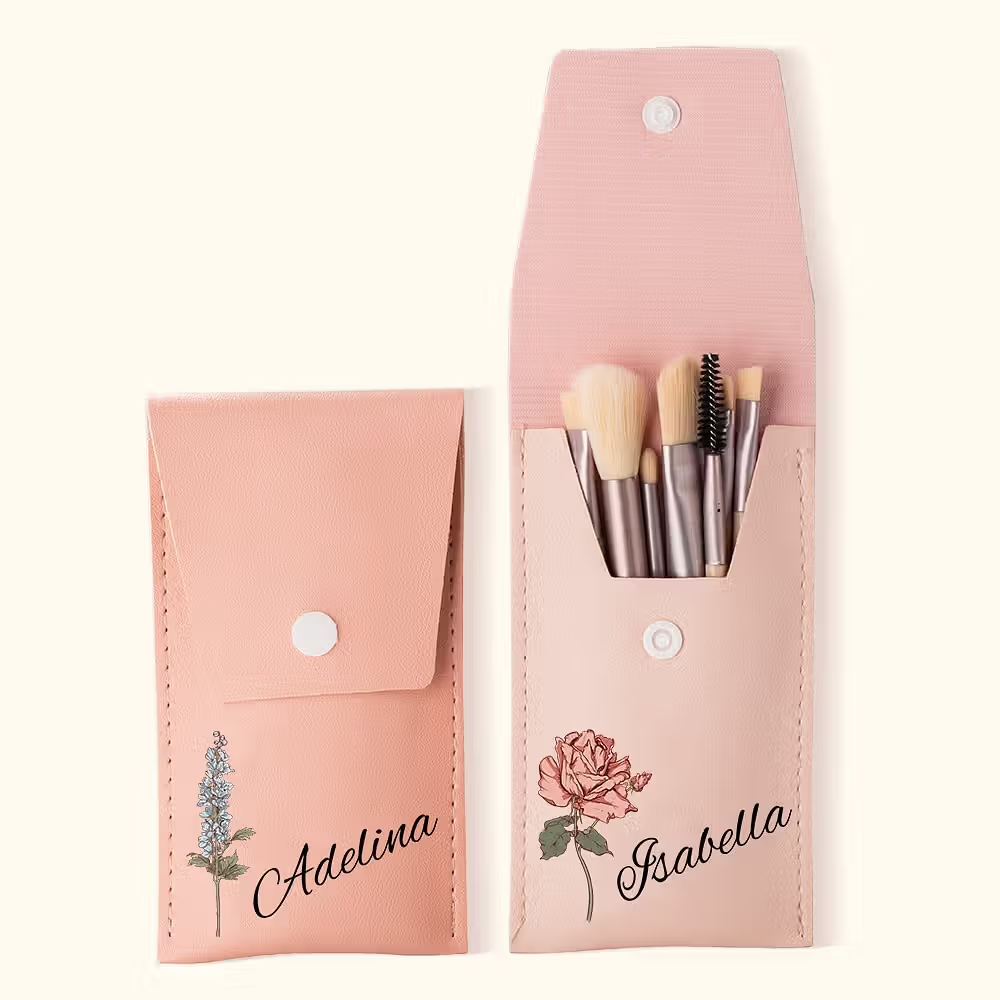
Personalized makeup brushes are ideal as a starter kit; it’s perfect for on-the-go use.
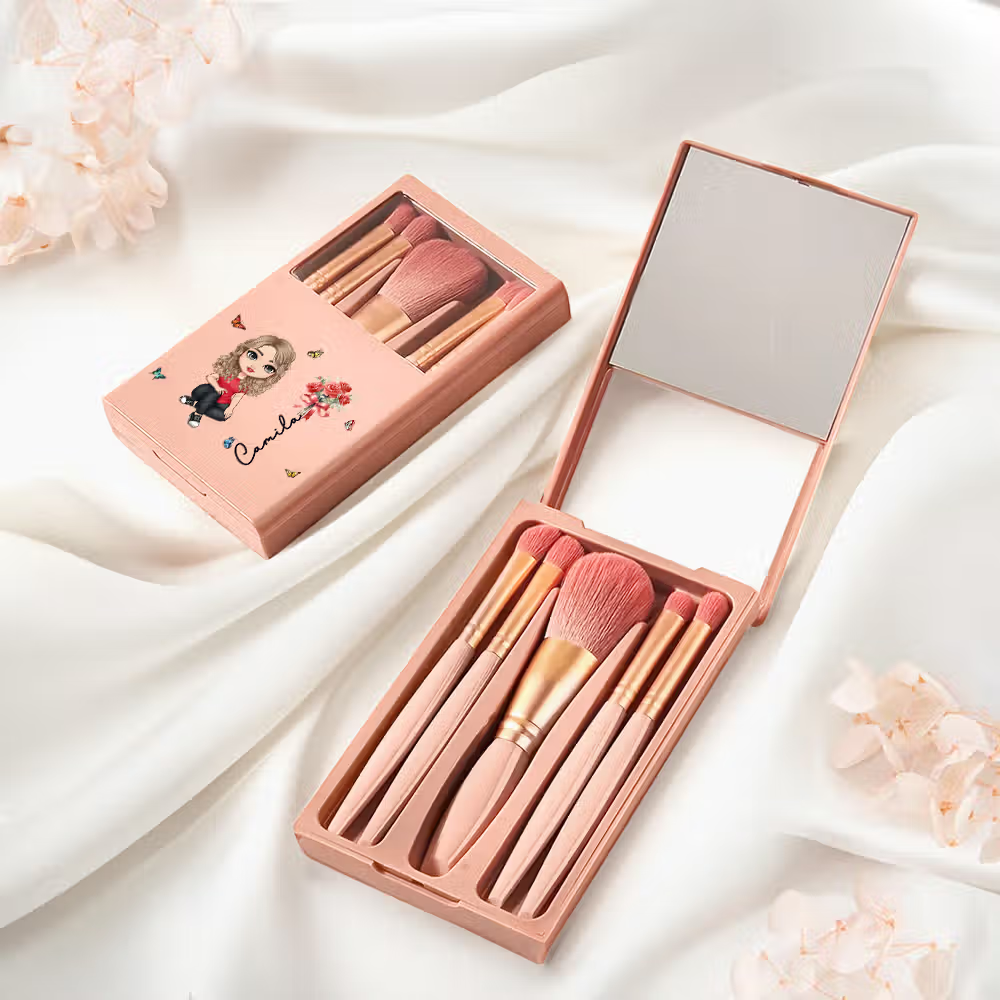
The 5-piece set comes with a dedicated organizer slot and a built-in mirror; the organizer keeps bristles from resting on countertops after their weekly deep-clean.
- Waterproof Portable Makeup Brush Bag with Name — $22.5(10% off)

Waterproof interior + portable silhouette — perfect for travel or gym-bag use: damp surroundings without worrying about leakage onto other makeup.
The Bottom Line
Washing your brushes is the cheapest, most overlooked skincare upgrade you can make this month. Easy whole process. Your skin will calm down, your foundation will lay flat, and your favorite brushes will still be your favorite brushes two years from now. And not all cleaning can solve everything; sometimes you need to replace it with new.