


Crafting Cheer: 22 DIY Christmas Ornaments for Your Holiday Decor
Walk with us as we present you with a delightful collection of DIY Christmas Ornaments that will surely add an extra sparkle to your Christmas celebration. Whether you’re an experienced crafter or not, this article will show you different handcrafted decorations that will spice up your home this Christmas period.
DIY Christmas Tree Ornaments
Brightly Coloured Cookie Cutter Ornament

This is a classic holiday ornament, which can be made from various materials such as metal, plastic, and even wood.
Gather supplies that you would need such as decorating paper, hot glue, and paint. Proceed to choose your design, add a ribbon when you’re done and attach it to your Christmas tree.
Get the tutorial at Martha Stewart
Santa Sleigh Ornament
The Santa Sleigh Ornament often features intricate detailing, including reindeer, presents, and Santa figurines.
You would need materials such as small wooden pieces, paints, brushes, glue, miniature reindeer figures, ribbons, and tiny presents.
Proceed to paint the wooden pieces or sleigh with a pattern of your choice. Glue the reindeer, present, and other decors into the sleigh, dry and you’re good to go.
Watch the full tutorial at T Art and Craft
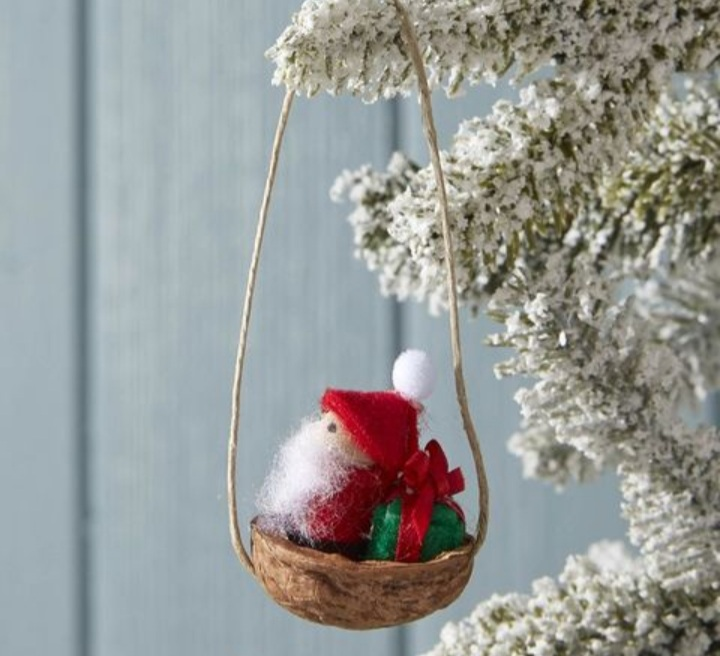
Walnut Rudolf Ornament
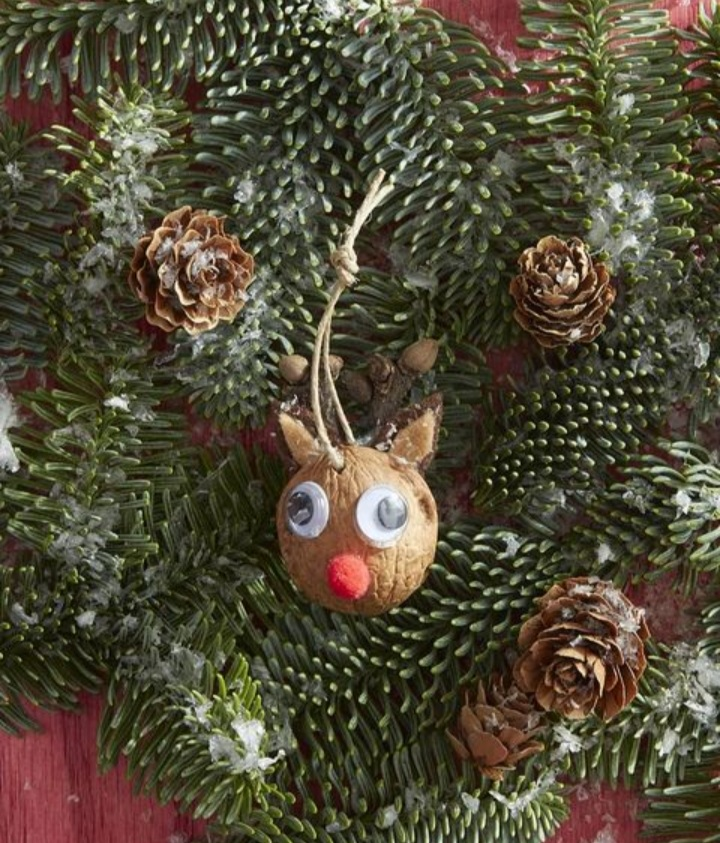
This magical design offers a rustic and charming addition to any Christmas tree.
You will need Googly eyes, walnut, red beads, paint, glue, and a ribbon or string for hanging. Proceed to crack the walnut and discard the nut inside. You’ll be left with two halves of the shell, one will serve as Rudolf’s face.
Paint inside as you so choose, glue the eyes and the red bead as Rudolf’s nose. Attach a ribbon and hang it on your Christmas tree.
Get the tutorial at RedTedArt
Velvet Wrapped Ornament
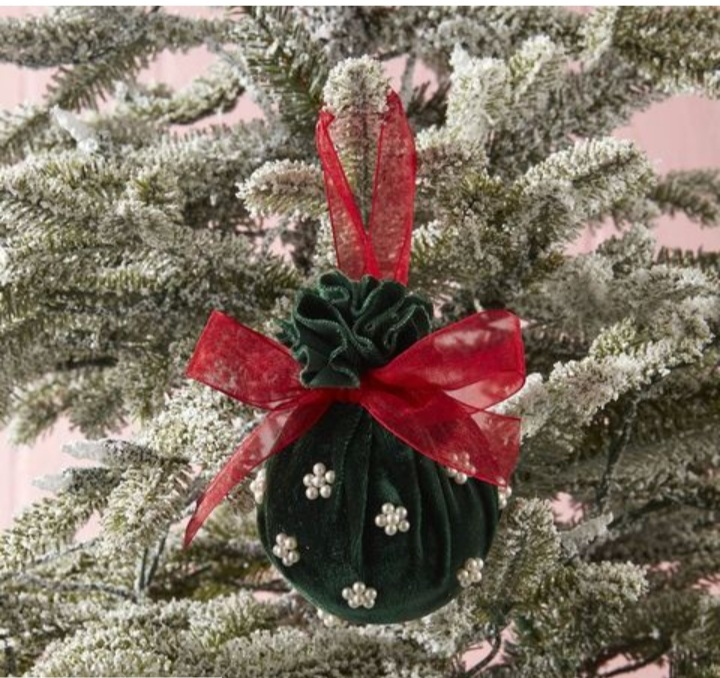
Are you interested in making your Christmas tree look rich and sophisticated? Let’s show you how to do it with a Valvet Wrapped Ornament.
You’ll need a glass ball, velvet fabric, beads, sequels, glue, scissors, and ribbons. You’ll proceed to cut the velvet fabric into a piece big enough to hold the ornament.
Proceed to apply glue directly to the fabric or ornament, then attach the fabric to the ornament evenly. Let it dry and you have your Christmas ornament!
Get the tutorial at My Family Thyme
Decoupage Tissue Paper Ornament

This decor is made by applying layers of tissue on an ornament. It’s very fun to make.
Gather a plain glass or plastic ornament, tissue paper in various patterns, glue, a paintbrush, and a ribbon. Cut the tissue paper up into various shapes.
Using a paintbrush, apply glue and start overlapping them on the ornament. And watch your beautiful patterns form.
Get the tutorial at The Yellow Brick Home
Yarn Ball Ornaments

Do you have a small ball lying around? If yes, perfect!
Start by applying glue to the plastic ball, then wrap a yarn around it. It’s that simple. Don’t forget to be creative in your designs.
Get the tutorial at HGTV
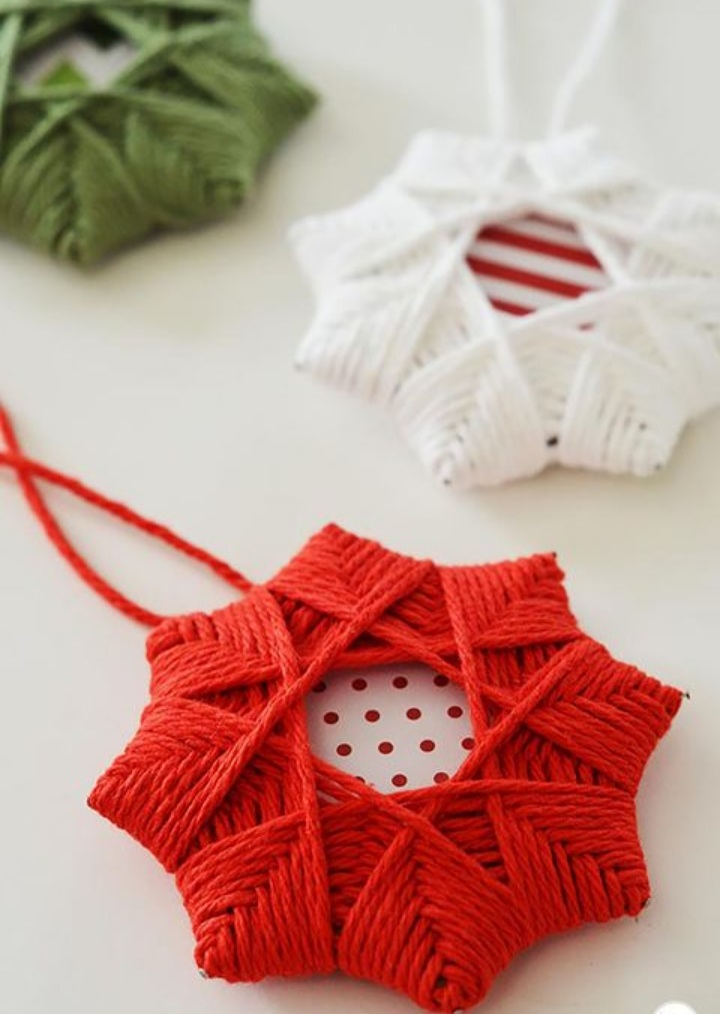
Yarn Stars
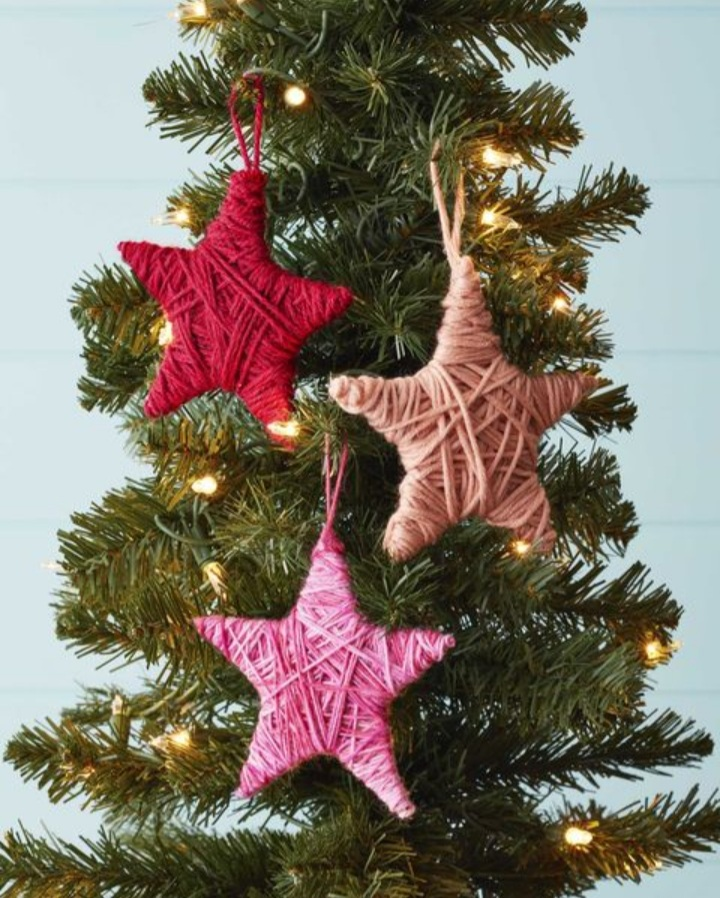
Using a pre-star template, cut out a star shape. Carefully wrap the star in yarn using hot glue and ensure you secure the ends with glue or a knot. Add a string and attach it to your Christmas tree.
Get the tutorial at Tidbits & Company
Clothespin Ornament

For this to be made, you will need mini clothespins.
Firstly, you will remove springs from 14 or more mini clothespins. Proceed to turn them around and attach adhesive from end to end and watch your circular patterns form.
Get the tutorial at Chaotically Yours
DIY Christmas Ornaments For Kids
Salt Dough Ornaments
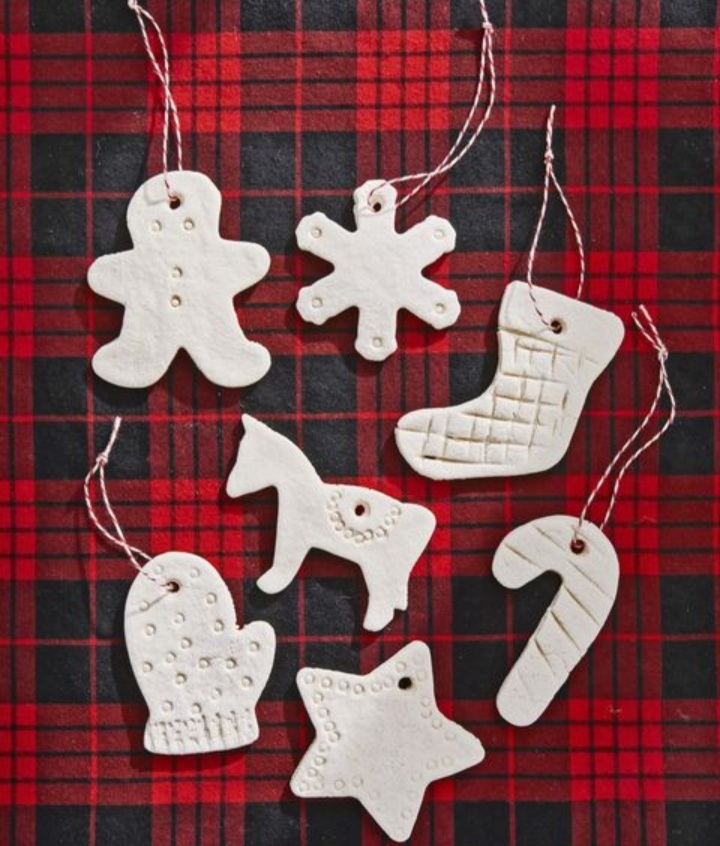
Salt Dough Ornamentals are always crafty ornaments kids enjoy making. All you need is to combine 4 cups of all-purpose flour, 1 cup of salt, and 1½ cups of warm water. Mix and knead until the dough is firm and smooth. Roll out, cut up, and bake at 300°F until dry for 1 hour and it’s all set.
Get the tutorial at Wholefully
Felt Olaf Ornament
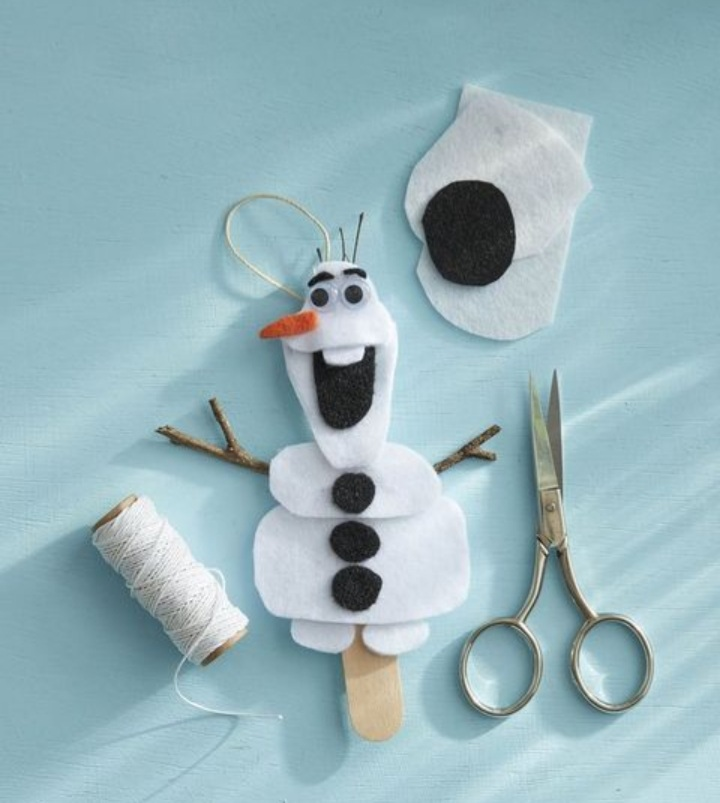
Don’t kids just love frozen?
Get them in the mood for Christmas by engaging them in the craft of Olaf.
Get the tutorial at Themainstreetmouse
DIY Sugar Cookie Ornaments
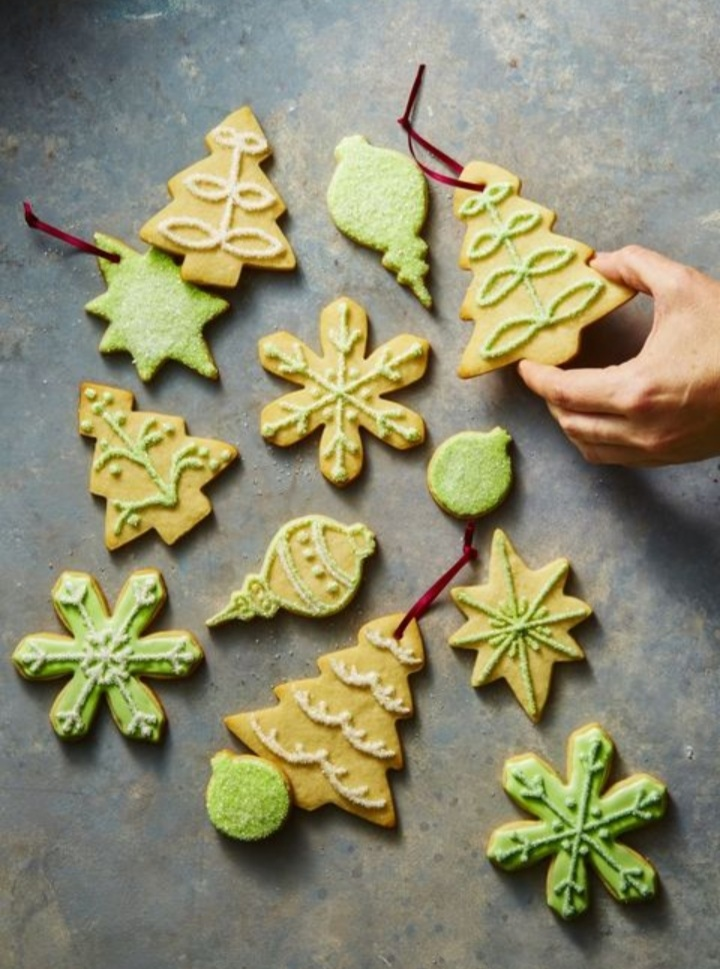
Who wouldn’t be up for a batch of ornamental cookies? The only problem with this is that kids might munch it all before even remembering it’s for a tree.
Get the tutorial at Good Housekeeping.
Wrapped Yarn Ornaments
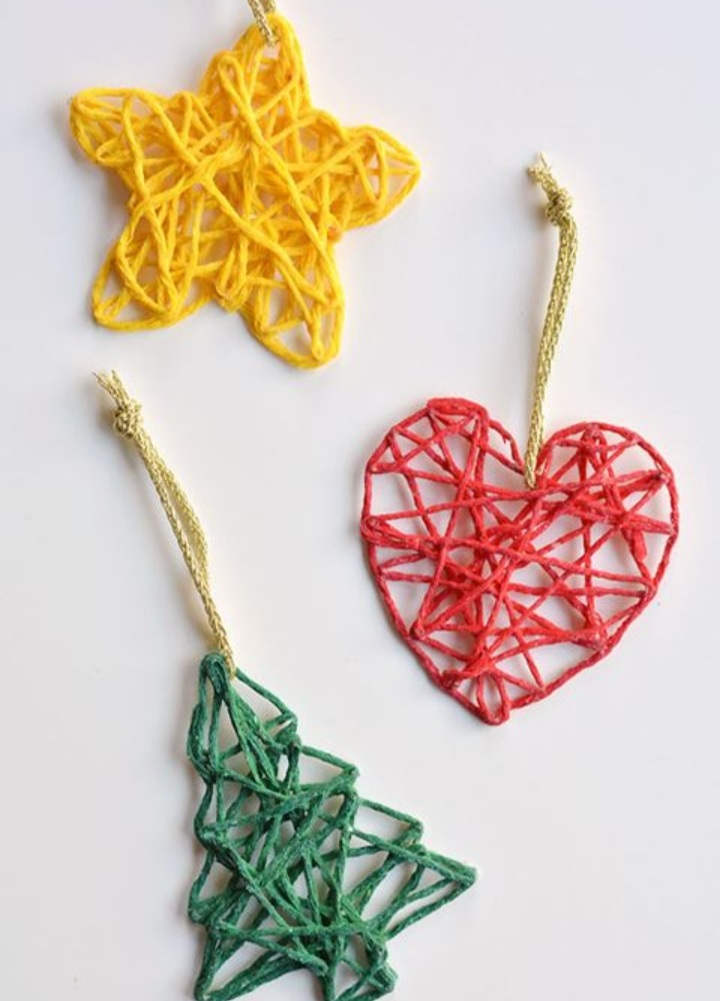
Allow your kids the opportunity to play around with yarn and create very beautiful designs.
Get the tutorial at One Little Project.
Christmas List Ornament
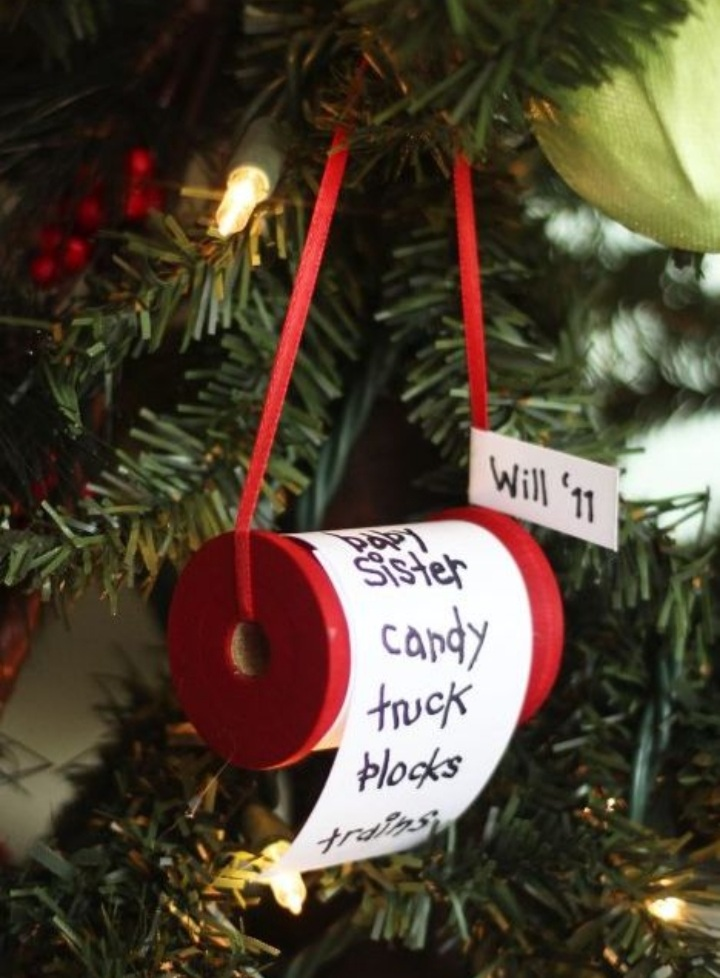
We are sure your kids believe in the magic of Santa. Have them write down their wishes and hang them around a bobbin.
Get the tutorial at Honeybear Lane
DIY Wooden Christmas Ornaments
Wooden Rudolph Ornaments
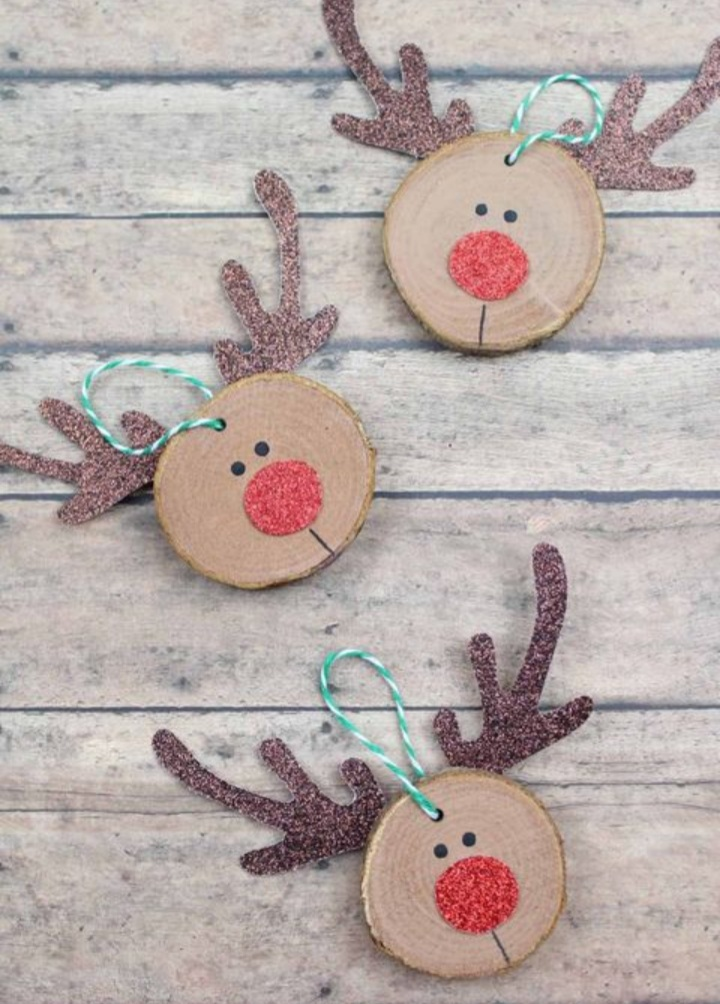
It’s always a nice Christmas chore to craft the great Rudolph plus they are an excellent choice when paired next to your twinkling lights. Get your wood supplies, glue, and googly eyes, and get crafting.
Get the tutorial at The Inspiration Edit
Wooden Bead Snowman Ornament
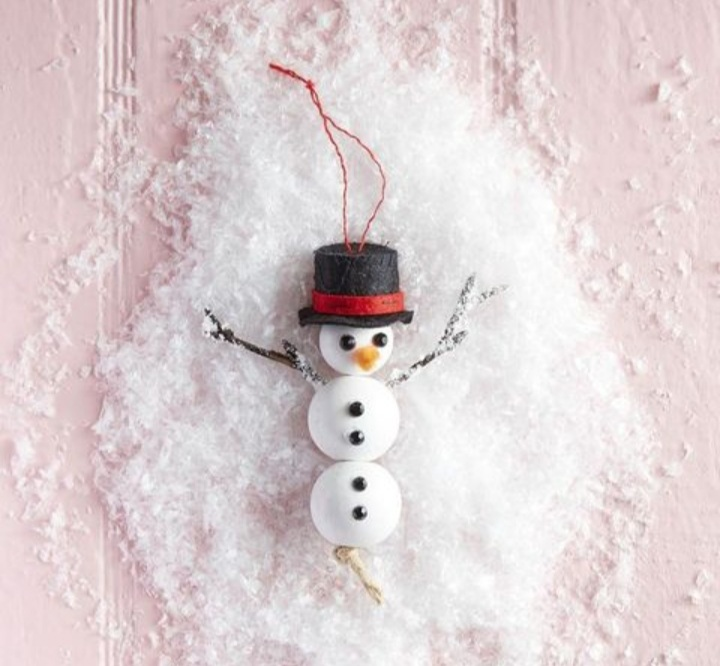
Interested in crafting a snowman that won’t melt?
You’ll need wooden beads of different sizes, painted in different colours and assembled with glue. You will also need to craft the cap, mouth, and googly eyes.
And there you have it, your perfect wooden decor!
Get the tutorial DIY CANDY
Wood Slice State Ornaments
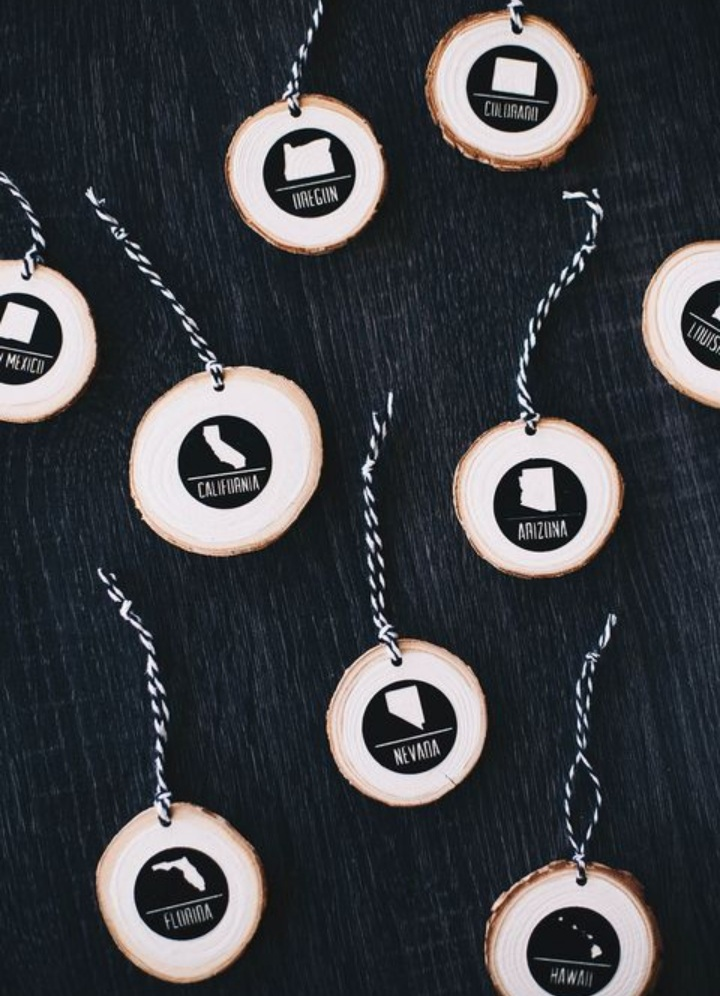
Cut off small slices of wood and transform them into your canvas. It is also a perfect gift to surprise your family and friends with.
Get the tutorial at All for the Memories.
DIY Christmas Ball Ornaments
Gumball Machine Ornaments
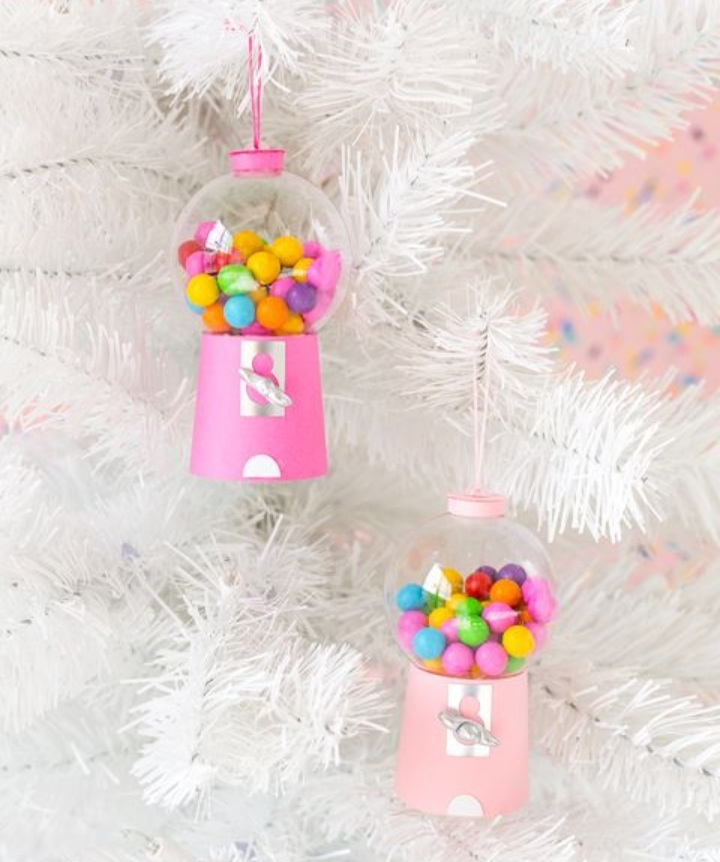
Here is another Christmas design to hang on your Christmas tree. You’ll need to paint a jar to mimic the gumball machine, then insert colourful beads.
Proceed to attach the base to the bottom of a clear ornament. Tie a ribbon and attach it to your Christmas tree.
Get the tutorial at Aww Sam.
Christmas List Ornament
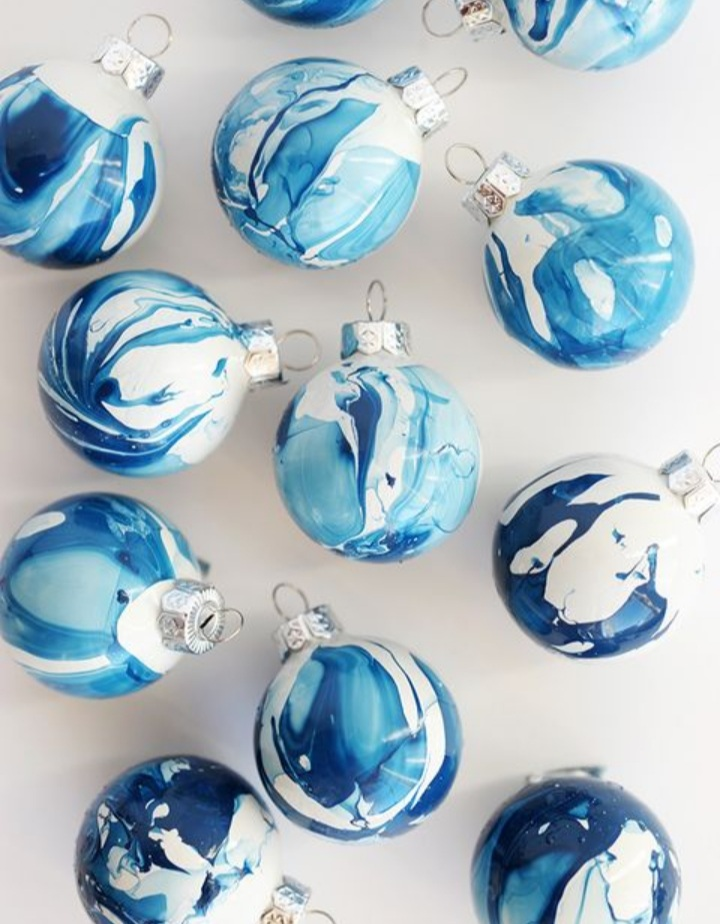
If you have any marble balls lying around, paint with beautiful colours, glue a hook, attach a string and hang it anywhere of your choice. Remember, the more the better!
Get the tutorial at Alice & Lois.
Unicorn Ornament
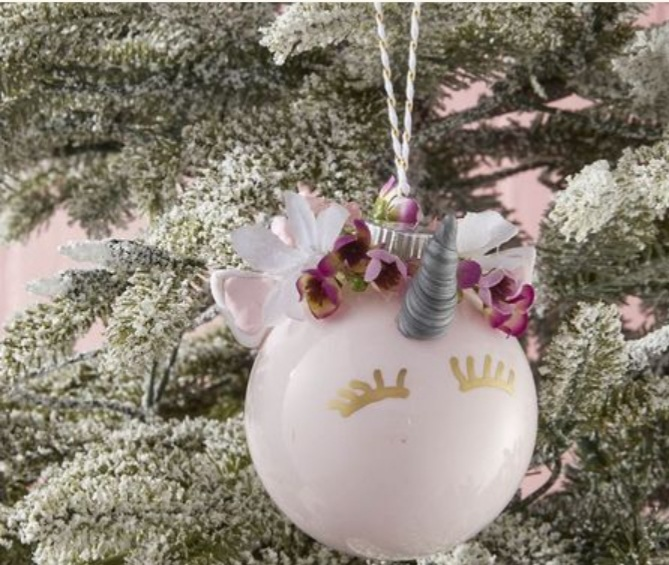
Unicorn ornaments are generally liked by individuals who appreciate fairytale elements during this Christmas period.
You will need a ball of any shape, paint, glue, glitters, ribbon, rhinestones, and a pre-made unicorn horn.
Attach the horn with glue, decorate it with paint, and allow it to dry. After drying, you can attach a ribbon and hang it on your Christmas tree.
Get the tutorial at Hello Wonderful
Other DIY Easy Ornaments
DIY Rudolph Ornaments
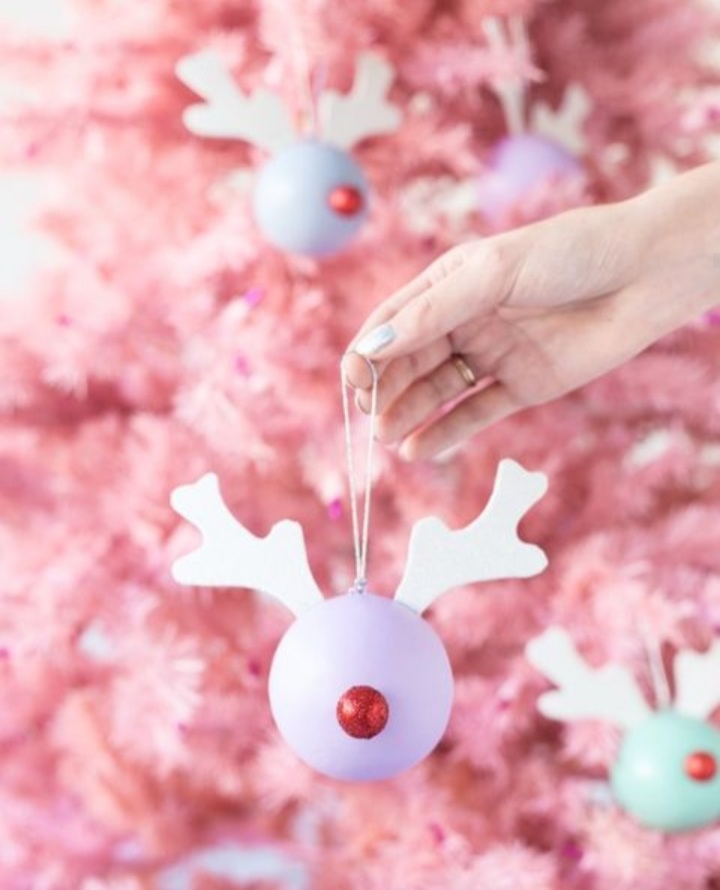
Making Rudolf ornaments is always fun because it incorporates everyday materials like pinecones, felt and googly eyes.
It has a very simple design, all you need is to attach the googly eyes and nicely shaped felt to the colourful pinecone. And you can hang your decor anywhere in your home.
Get the tutorial at Studio DIY.
DIY Paper House Ornaments
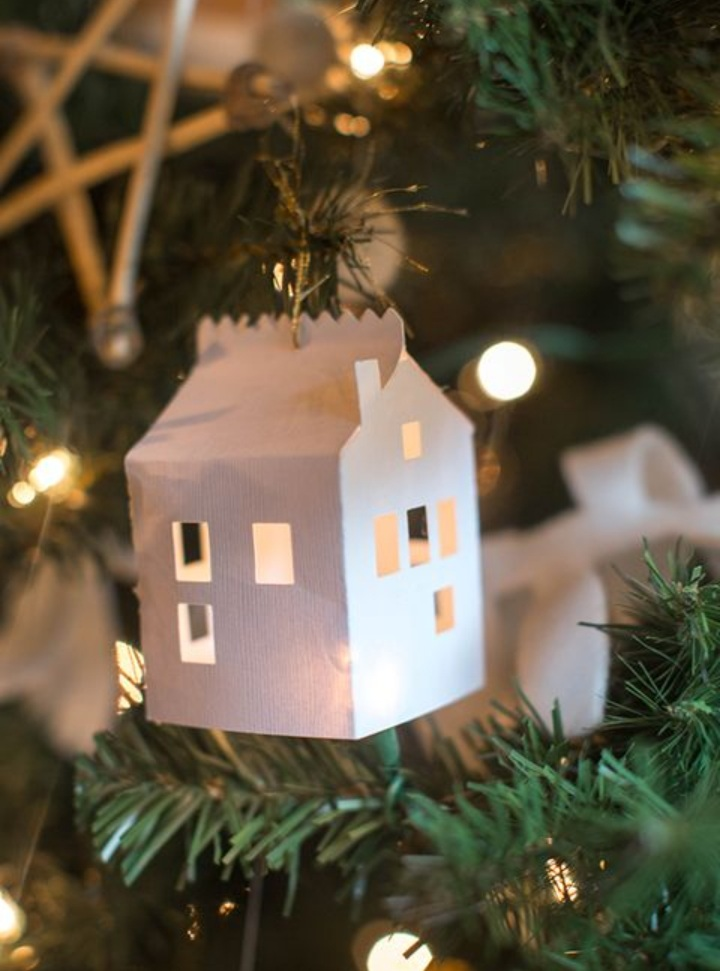
Paper house designs are just the easiest to make. Relive your childhood memories through this amazing design.
Get the tutorial at Lia Griffith.
Homemade Christmas Tree Stars
You only need two supplies, festive yarn and a pretty cardstock. And you can get crafting!
Get the tutorial at Live Craft Eat.
Related Read: 30 Creative and Unique DIY Christmas Ornaments
Conclusion
It’s the Christmas season, and we have highlighted the easiest DIY ornaments for you to give yourself the best decorations possible. Don’t forget to check us out at the online store at Callie to get more Christmas inspirations for this holiday season.